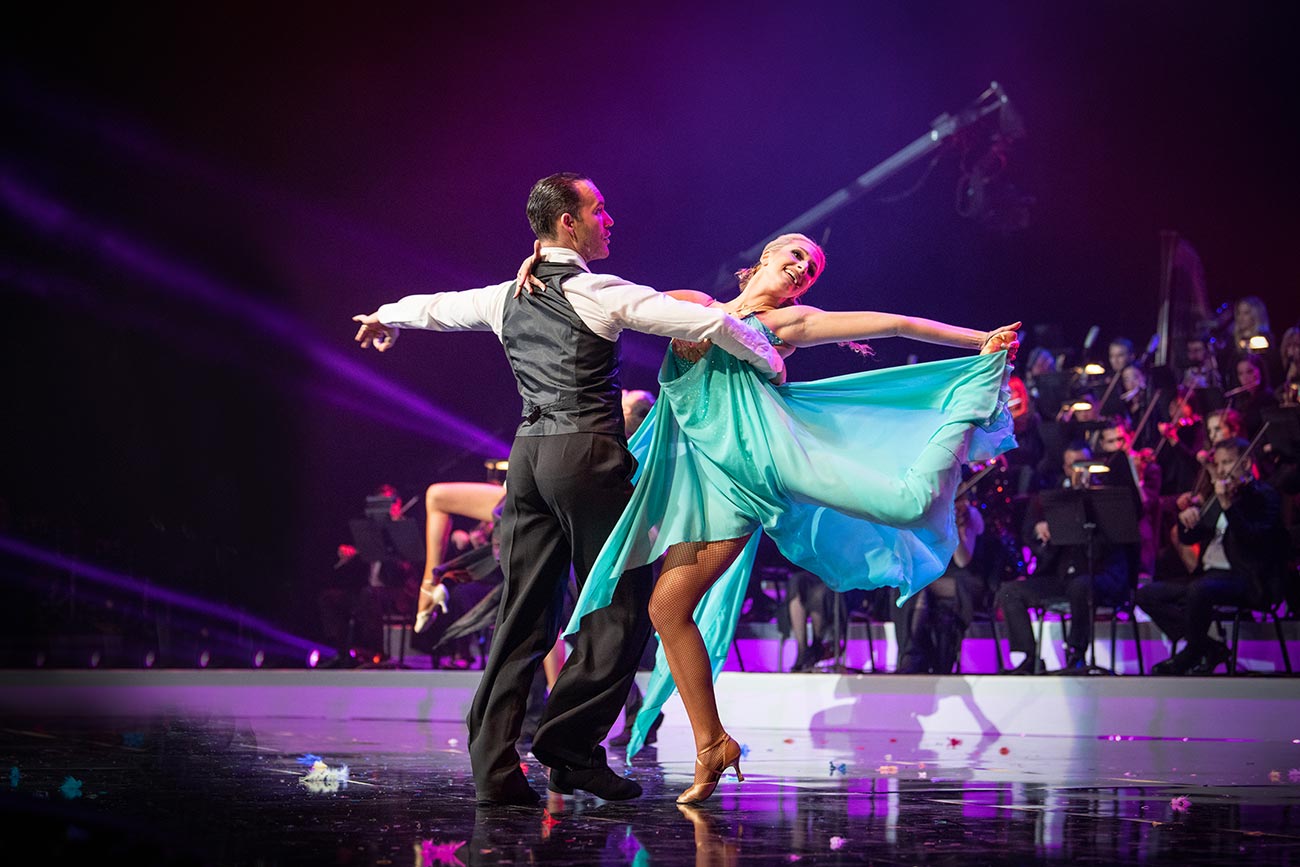
Concert photography is pleasant and exciting but it can also be very hard because of the low light conditions and different color lights can be tricky. Always, flash photography is usually banned and you need to prepare yourself for high ISO photography. Photography on the low light situation events is a big responsibility because the events are not repeatable. In this article, you can read 9 tips that are necessary for any photographer who wants to start concert photography.
9 Concert Photography Tips
Fast Lens
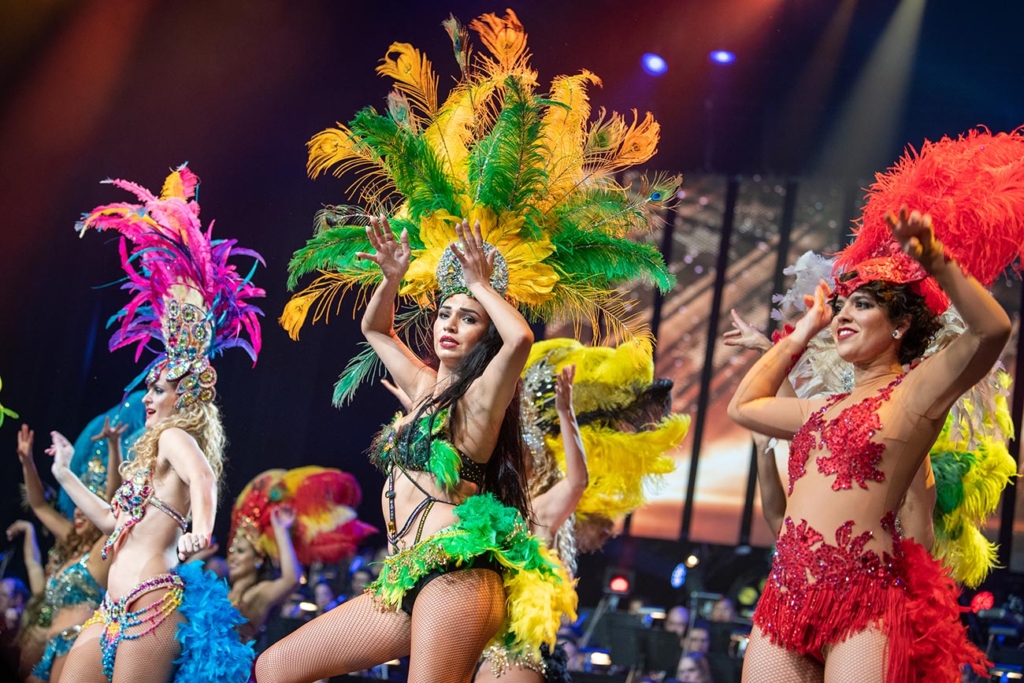
First thing you need to have a fast lens. Fast lenses work best in low light conditions for focusing. A fast lens is a lens with a large maximum aperture. A fast lens has an aperture with a wider opening allowing more light to enter the camera sensor and give you a better depth of field. Shooting with a bigger aperture allows for faster shutter speeds to freeze the moment and also lower ISO to have the cleaner files. Always remember that the smaller the f-number. You can use f2.8 or for prime lenses, you can use 1.2, 1.4, 1.8.
Manual Exposure Mode
Concert photography is very challenging because of the light changes during a concert. For that matter, you should have full control of the settings. Usually, is better you keep the shutter speed the same and play more with ISO number in different situations. However, if you´re just starting to try the lowest Aperture and just change just the ISO.
Aperture
Always shoot your lens wide open and lowest aperture number that you can. Shooting with your lowest aperture will allow more light to enter your camera. Apertures of f1.2, f1.4, f1.8, or f2.8 will work great in low light concert photography. That’s why it is important to invest in a fast lens when you first start in concert photography.
Shutter Speed
Try to maintain a shutter speed between 1/160 to 1/250 or faster. Anything slower can start creating blurred images (But some blurry can makes Art too). But it is better to start with 1/160 and check your focus. If your ISO is good enough (less than 2000) you can go 1/250.
ISO
ISO is your camera’s sensitivity to light. The lower the ISO setting, the less sensitive your camera will be to light. The higher the ISO setting, the more sensitive your camera will be to light. It makes sense that in low light conditions such as in concert photography, you will need to hit up your ISO to higher settings so that the camera sensor will respond faster to the light. Try starting with an ISO of 800 during the concert. If that does not work and the images are coming out blurred you can bump up the ISO to the next setting until you are satisfied with the image. Keep in your mind some cameras are better for the low light situation and they make the better file even in high ISO
Wide Lens
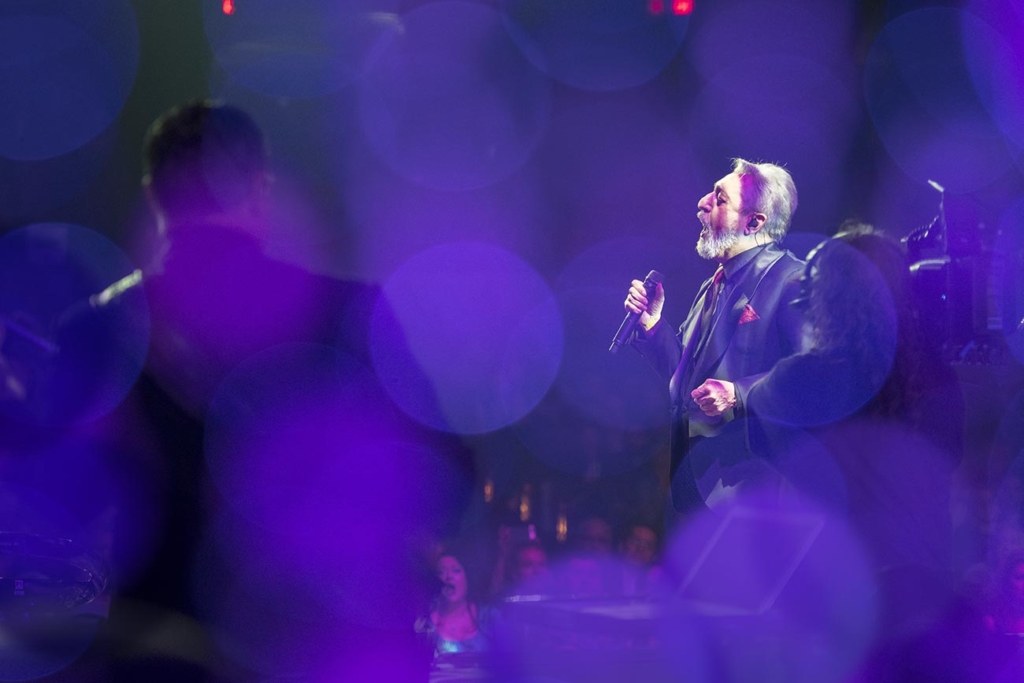
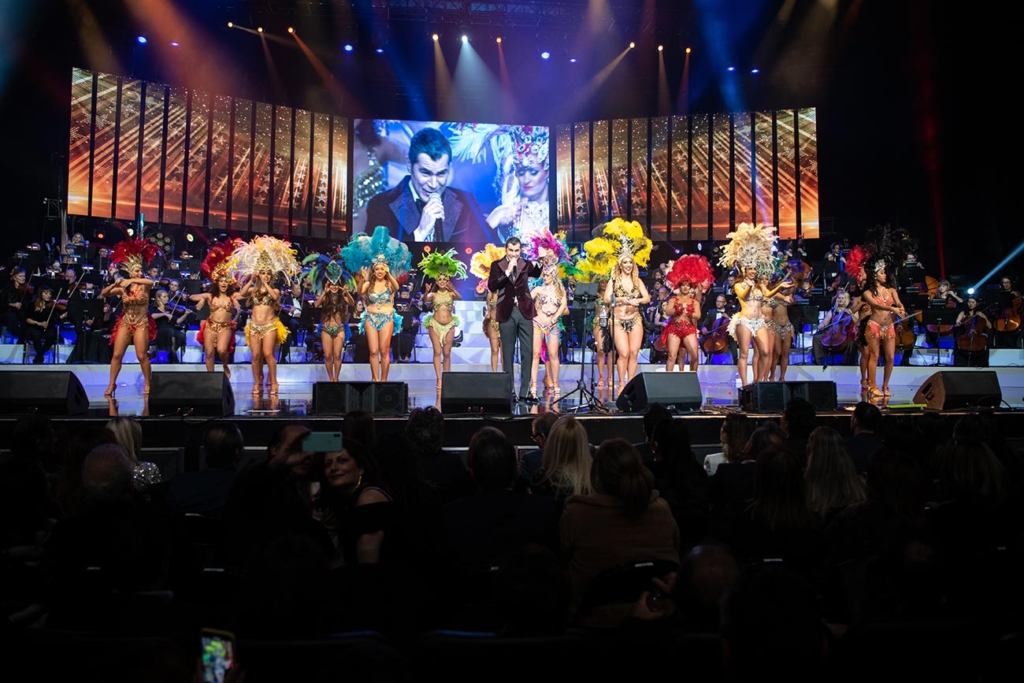
Always carry a wide lens like 14-24mm to get a super wide-angle. Most of the musicians love to see all the audiences and stage in one shot.
Several lenses
In concert, you can not change the lenses and put in in your bag and get another one. You should get two cameras with two lenses. For the concert, we usually use 14-24mm f2.8, 24-70mm f2.8, 70-200mm f2.8.
Ask for Light Temperature
Before starting to go to the light design team and ask them for Kelvin of the light (3200 or 5600). They know what is the light temperature in a different location and situation. In this way, you can get better color and less work in Lightroom and Photoshop.
Shoot RAW
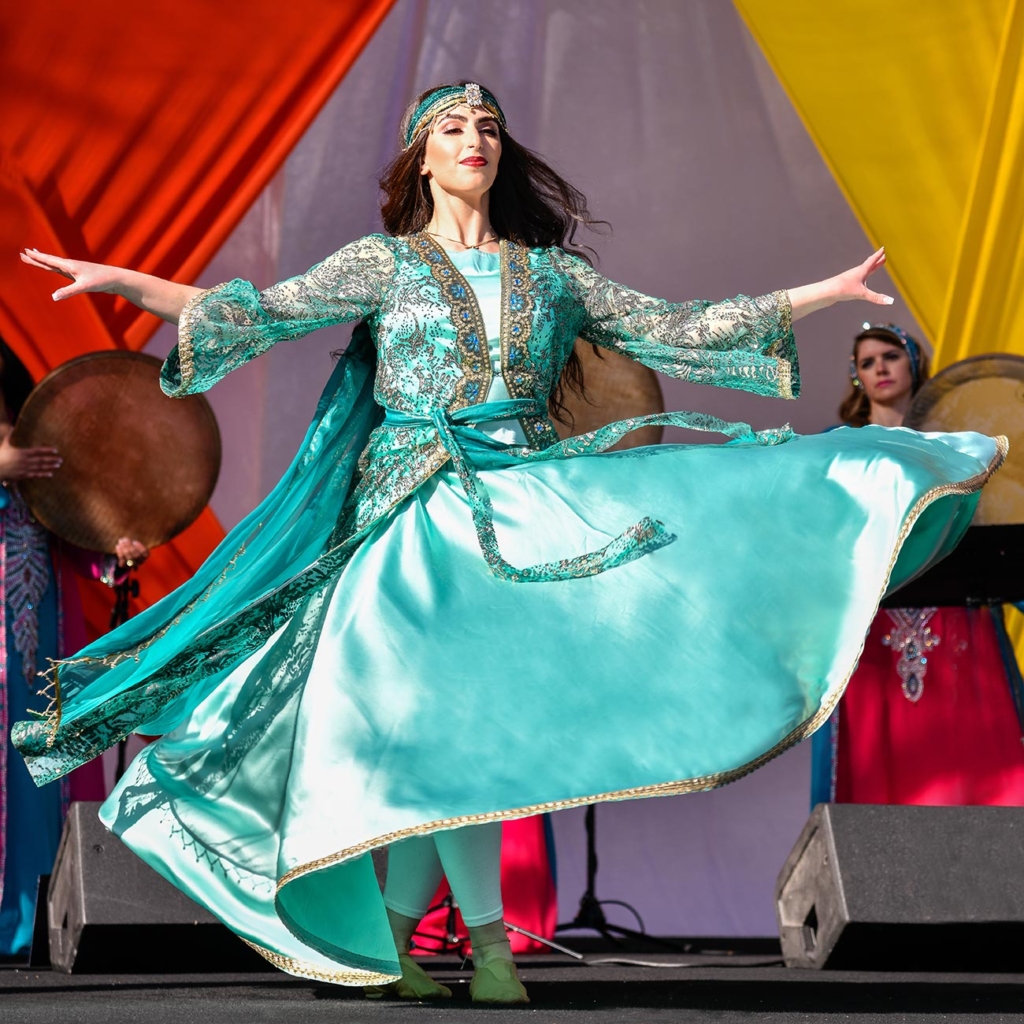
If you shoot RAW camera save more information on files. So, In Lightroom and Photoshop, you can push file more stops to reach better light exposures.
Conclusion
It is necessary to understand your settings of the camera and also post-production tips. The more you shoot concert photography in low light stage situations the more confident and comfortable you will become with yourself and with your camera.
. This is your first post. Edit or delete it, then start writing!

