During our development as photographers, we must learn to optimize our work and time with a defined workflow. While each person must find their strengths and weaknesses to find a comfortable and effective process, some elements are necessary for all images. Here we show you what they are.
1. Developing our flow
When approaching our images, we are taught that they go through three main steps: developing, editing, and retouching. This division is usually taught this way by the traditional approach to photography, where the photo is first processed naturally during development. Slight edits are made, and large changes are finalized in retouching. However, a more intuitive way to approach all these processes is to think about the flow from the different purposes of the settings.
2. The Balance
When we are selecting our images, we usually ask ourselves which one is better? Which one is close to what we want to publish? However, the image we are using is an image that would not be close to that selection. So why not ask ourselves which image has the most potential? Which one is close to what you were looking for when capturing the scene?
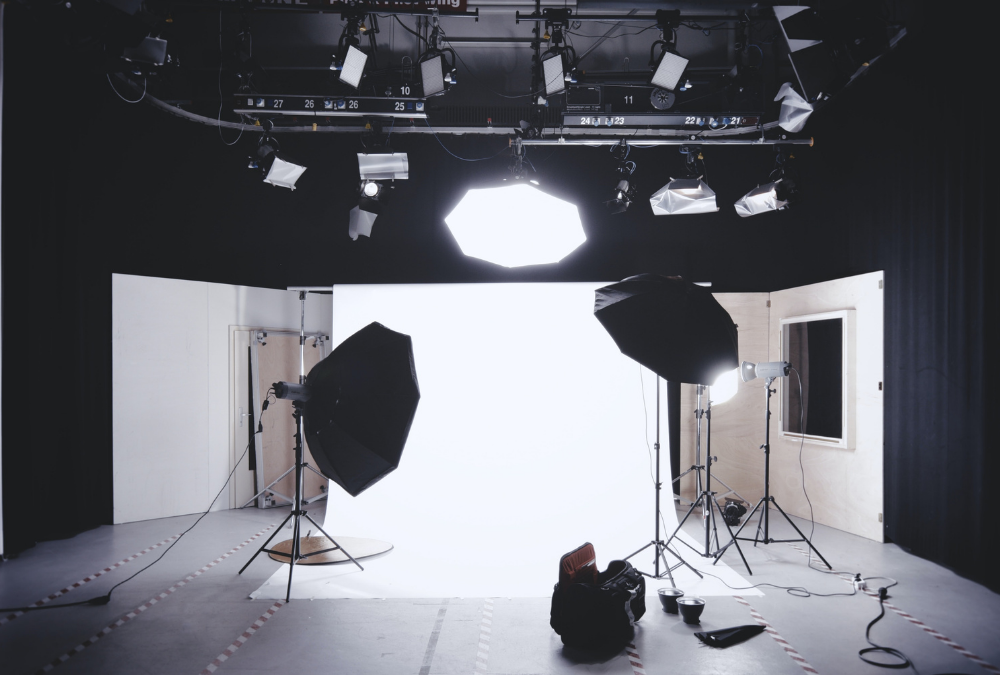
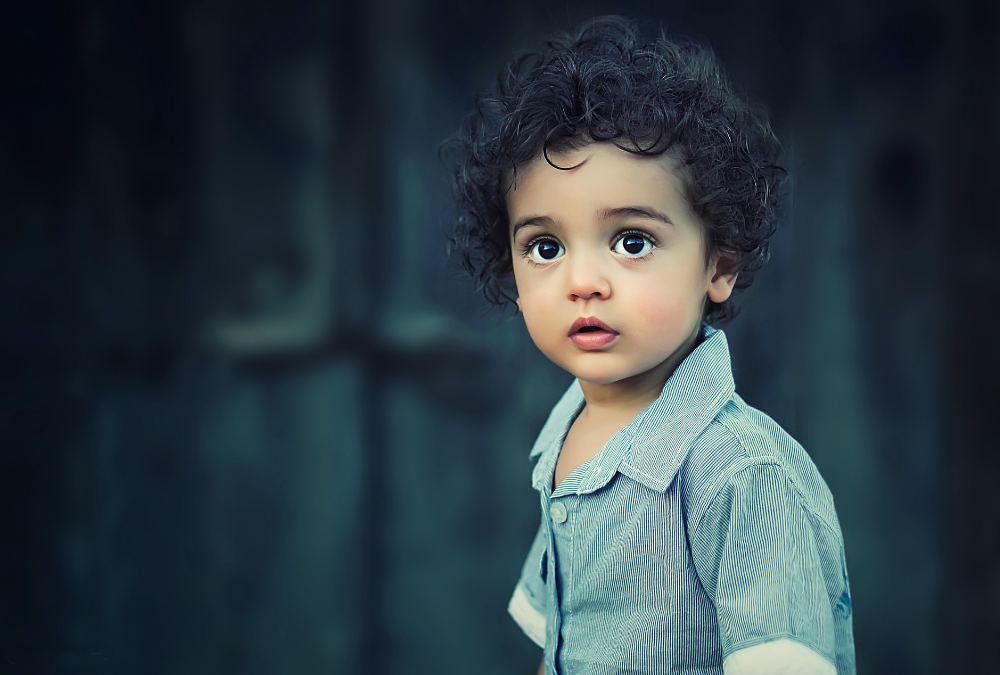
That approach is the most important. Most of the time, the images that we capture outside or in the Los Angeles photo studio must be well exposed, with the color balance and exposed correctly for what we are looking for towards the end. Sometimes we may have an occasional catch like the one above that looks like a bad catch but can potentially work on them a bit.
If the image is good, balancing the image will be a simple process, as it will only be to finish adjusting the development settings slightly to achieve an ideal working base. In this case, you have to adjust the exposure a lot, you have to correct the white balance, and you have to adjust the tones so that they are close to a neutral base on which we are going to work. By fixing these problems and looking for neutrality, we come up with something like this:
This solves the first step of the approach to our images: to get a solid base on which we can work.
3. Remove what is distracting.
The next step in any image is to focus our viewer’s retention on the most important subjects in the image. We will ask ourselves in this step: where do my eyes look when I see my image?
Here we take care of those brightest points, those contrasting points that attract attention, and those elements that can be cleaned for a simple reading of the image. In a development process, we can do this with local adjustments or using the cloning tool of our developers. However, in some specialties, this is a more delicate process. The important thing is that our images must focus on our subject, and anything that takes away from it must be eliminated or obscured.
4. Define the style
Once we have our base and know that the attention is focused on our main elements, the only thing that remains is giving it that style closure that marks our images.
5. Shoot in RAW
A recommendation that is always repeated but is essential to be able to get the most out of an image, especially when, as in the cases in which we speak, we are shooting in not too good light conditions.
The RAW will allow us, among other things, to control the color temperature afterward, which in covered pavilions is usually quite disastrous and difficult to measure correctly.
6. Use high ISO values.
As we have said, low light and a lot of movement are not good allies of our cameras. Therefore we will have to shoot high ISO values, which allow us to shoot at adequate speeds to avoid shaky portrait and headshot photography in LA.
Any SLR will allow us to reach a fairly decent 800 ISO in terms of noise without problems, although, depending on the model, we can even speed up to 1600 with a fairly contained noise. It is more difficult not to observe noise from here, but hey, nothing happens to a photo because it has noise; if the moment is good, you will not worry. If you use compact, you may have more problems with noise, try to find the ISO value up to which your camera “defends itself” and do not exceed it.
7. Play with the shutter speed.
If you want to freeze the movement, you will have to use fast shooting speeds, although we must either have a very bright lens or raise the ISO value. If, on the other hand, you want to capture the movement on the track, lower this speed to at least 1/200.
The good idea is to put the camera in speed priority mode (Tv or S) and check what the appropriate shutter speeds are at the moment.
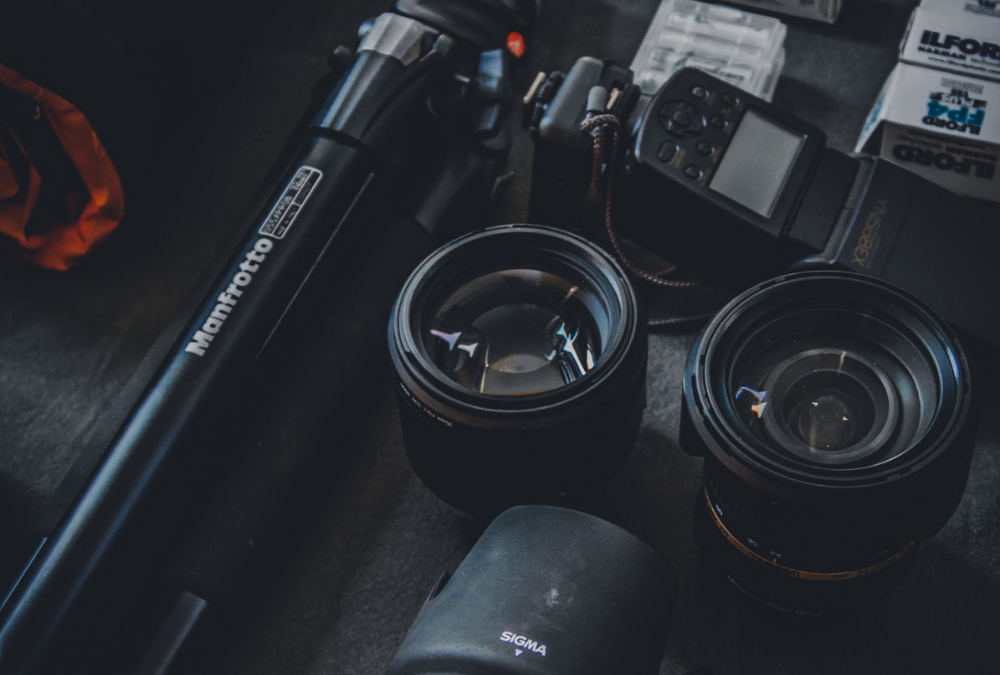
8. Use a bright lens
As we have said, the less ambient light is, the more we are interested in having a lens that allows more light to enter the sensor. Therefore it would not be a bad idea to use openings between 2 and 4, whenever possible. Also, if we talk about telephoto lenses, with the play of lights that sports halls usually have, we can achieve a quite original blur.
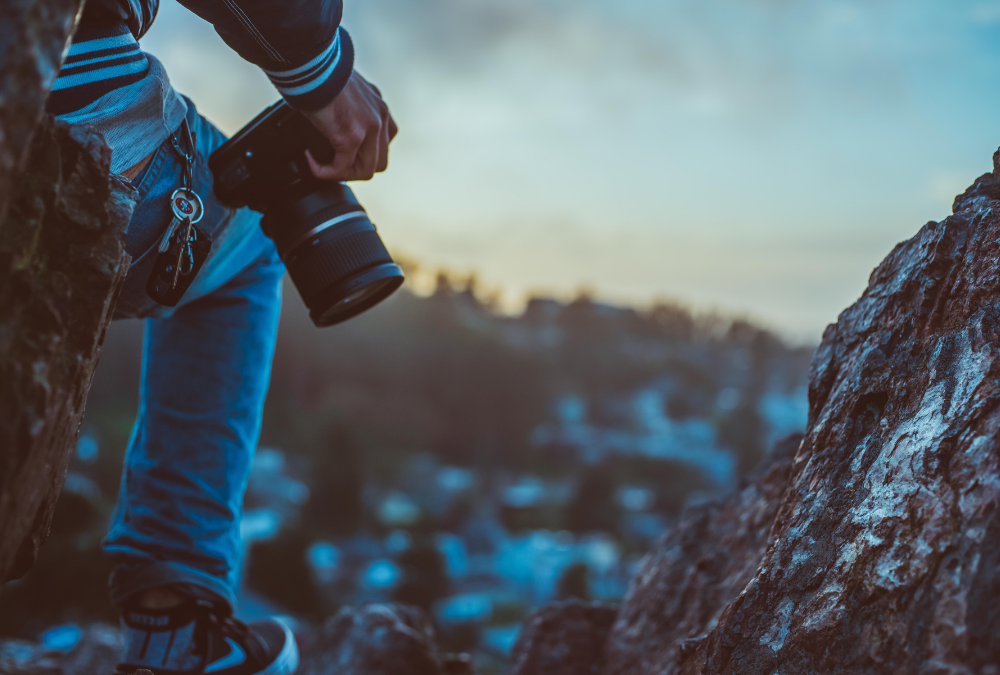
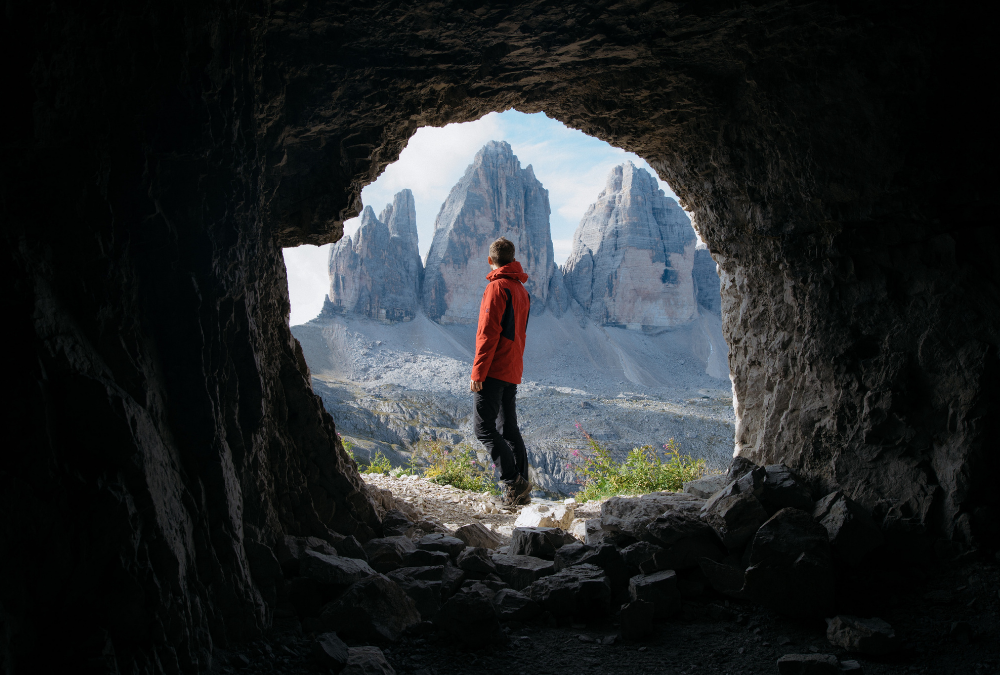
9. The environment also matters.
There are times when the venue is worth it, either because the building deserves it or because we want to capture the environment where we are. Therefore, carrying a wide-angle is not a crazy idea, especially if we want to capture the public or the players’ relationship in them. It will undoubtedly be an atypical and interesting photo at the same time.
The before and after the game can also give us great photographic moments. Do not limit yourself to taking the camera inside and putting it away when you go out, and you may lose an interesting photo in the last moments or after the game is over.
10. Lookup expressions
Aggression, rivalry, companionship, fatigue, victory. When we talk about the sport, these are words that have an instant reflection on people’s faces. Take advantage and look for how athletes express their emotions on the track; they will undoubtedly be the most special photos you take that day and will help in providing great photography services Encino.


